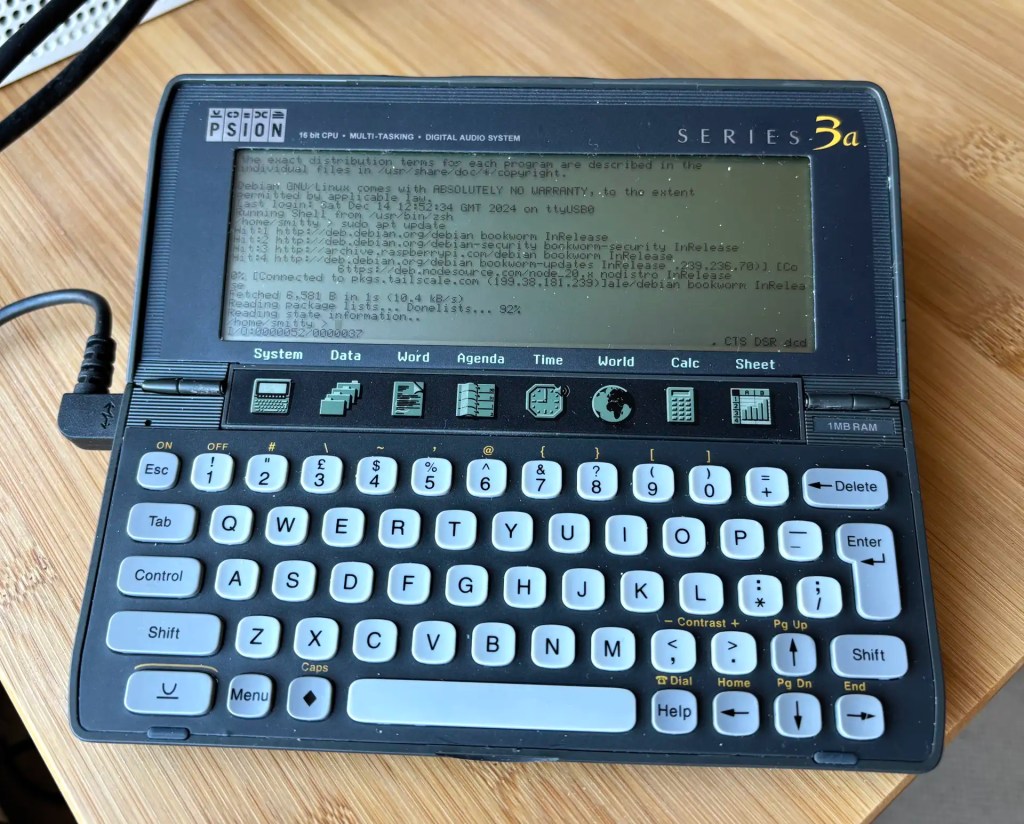
Recent work connecting old mobile devices — the Psion Series 3a and the Amstrad NC100 — to my Mac caused me to run into an issue with the script I use to determine the Unix device path of the USB-to-serial adaptor I use to talk to these gadgets. Long story short: I ended up converting a Z Shell function into a Swift CLI tool — and adding Linux support into the bargain.
Continue readingCategory Archives: How To (Pi)
How to get a 1990s palmtop communicating 2024-style: connect a Psion 3a to the Interweb
Recap I have acquired a UK-made Psion Series 3a palmtop. I’ve connected it to my Mac. I’ve connected it to my headless Pi server over serial. My next goal: connect the 3a to the Internet.

I never had any great expectations for getting the 3a online. To summarise the problem: the 3a shipped without integrated Internet support. And while it later received it, via the PsiMail email package, Internet access was predicated on a dial-up connection using a modem and an analogue phone line. It is possible to bridge this ancient approach to the modern world of always on broadband and WiFi, but yes, it’s a bit of PIA. Anyway, this is what you do.
Continue readingHow to access and control a Raspberry Pi with a Psion Series 3a
Recap I have acquired a UK-made Psion Series 3a palmtop. I’ve connected it to my Mac. My next goal is to connect the 3a to the Internet for email. But first… yes, I got distracted: having connected the 3a to a Mac, what about a Raspberry Pi? Could I do more with it than transfer files?
Darn right, I can. I can use it to control my headless server.

How to clone your Raspberry Pi card to an SSD… and add a home partition While you’re about it
I decided to upgrade my Raspberry Pi 4 homelab server to the Raspberry Pi 5. I took the opportunity to upgrade the storage from a 64GB USB drive to Raspberry PI’s M.2 PCIe Hat and a 256GB SSD. This begged a question: how to replicate the three partitions on the USB drive — boot, root and home — on the SSD, especially with larger partition sizes? Here’s what I did.
Continue readingHow to use the RP2040’s Flash in CircuitPython apps
Here’s a very useful technique if you’re working on a CircuitPython program that you need to store data on the host microcontroller’s Flash — and to continue to be able to mount and access the device from your computer. I’ve used it with a Raspberry Pi RP2040-based board, but it should work with other CircuitPython devices too.
Continue readingHow to copy files to a Pico on a Ventura Mac error free
macOS 13.0.0 Ventura introduced an irritating problem for all us Mac-based Raspberry Pi Pico programmers: Finder no longer allows you to copy .uf2 files to a mounted Pico. It’s not a forbidden operation, but it does trigger an error that prevents the copy from taking place. This is undoubtedly the ‘new normal’, so here are some ways to circumvent the error. I’ll save the best one until last.
Arm Assembly on the Pi Pico: Mnemonics #2
A number of the Cortex-M0+ Thumb ops I covered last time update the core’s Program Status Register (PSR) based on the outcome of the operation. The ops that do so have an S appended to their mnemonics and they only work with the core’s ‘low’ registers, R0-7.

ARM Assembly on the Pi Pico: Mnemonics #1
Last time, I covered the basics of doing ARM assembly programming on the Raspberry Pi Pico’s RP2040 microcontroller. Now it’s time to get to grips with the dozens of instructions to which the RP2040’s Cortex-M0+ cores respond.

Get Started with ARM Assembly on the Pi Pico
When I got my first microcomputer, I already knew Basic programming. My machine had a different Basic dialect from the one I’d learned at school, and there was a stack of graphics and sound functionality to get to grips with too, but it wasn’t long before I felt I’d mastered the high-level stuff and that it was time to move on to machine code. That’s how I’ve come to feel about the Raspberry Pi Pico’s RP2040 chip. The time’s right to learn ARM assembly programming on the Pico.
Continue readingFreeRTOS and the Pi Pico: timers
I made use of FreeRTOS’ timer functionality in the most recent post in this series, but I didn’t go into detail because the post was focused on other features. It’s time to address that deficiency. Today I’m talking about timers.


