
I’d like to introduce you to Depot, the new name for an expanded version of the Raspberry Pi RP2040-based adaptor I launched last year as cli2c. Why the name change? In addition to I²C, the firmware and the client-side code that interacts with it, now supports 1-Wire, and more buses will be supported soon.
Hence the name Depot: a place where you will find lots of buses.
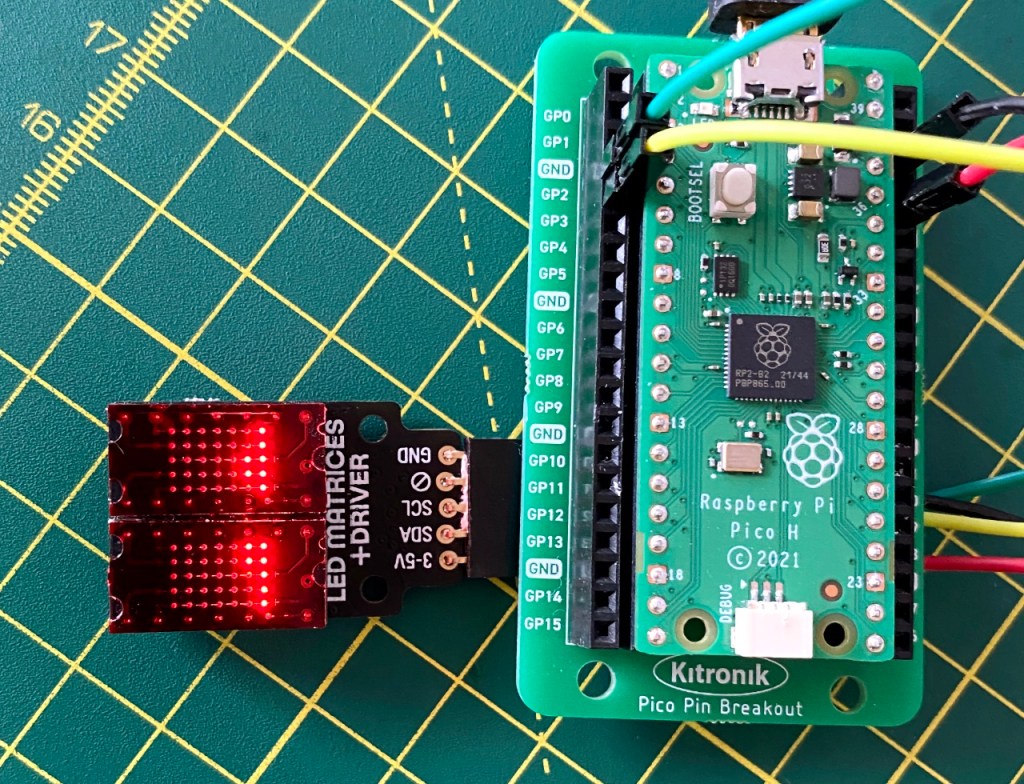
Here’s how it works. Depot’s RP2040 firmware runs on a suitable board, such as the Raspberry Pi Pico, the Sparkfun ProMicro RP2040, the Adafruit QTPy RP2040, or the Pimoroni Tiny 2040. It then communicates with ‘client’ code running on a Mac or Linux machine via USB using the RP2040’s native UART-over-USB functionality. This allows you to hook up I²C and 1-Wire peripherals — displays, sensors, actuators and so on — to the adaptor and control them from the computer.
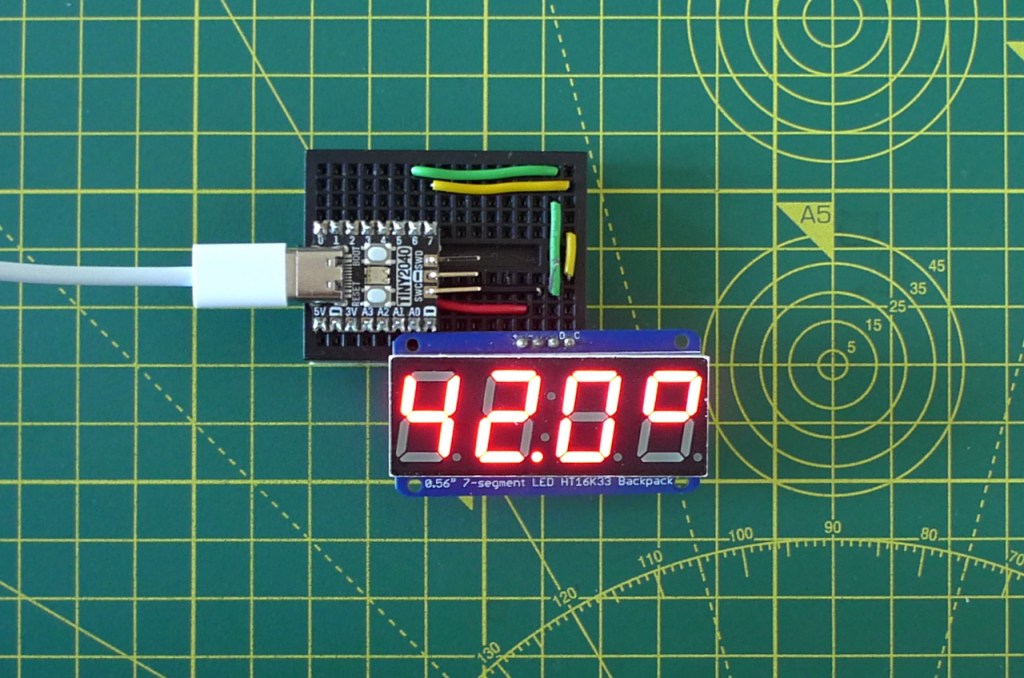
Case in point: I have a CPU utilisation readout connected to a headless Raspberry Pi 4. Python code running on the Pi samples the CPU using the standard Python psutil library and sends to the display via the Depot board. The adaptor firmware provides a command set; the client code uses it to tell the board to initialise an I²C bus and to relay control data to a connected HT16K33-based four-digit, seven-segment LED.

The command set also provides GPIO control and includes a subset of commands for controlling the adaptor itself: enabling or disabling the on-board LED, and getting error information, for example.
Building the firmware generates multiple versions, for the RP2040 boards listed above. Build the code in the usual way:
cmake -S . -B build
cmake --build build
If the ‘heartbeat’ LED flash bothers you, you can turn it off by commenting out the add_compile_definitions(SHOW_HEARTBEAT=1) line in the top-level CMakeLists.txt file. The LED was previously lit a board-specific colour (on those boards with multi-hue lights), but with Depot I’ve switched to bus-specific colours: cyan for I²C and yellow for 1-Wire. Boards with mono-colour just flash.
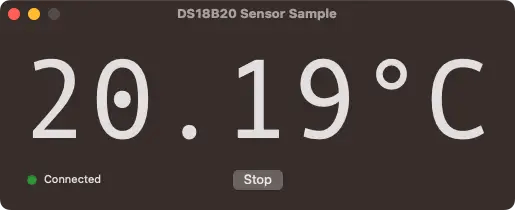
Bundled applications include generic CLI tools for working with I²C and 1-Wire devices wired to the adaptor — called cli2c and cliwire — and other CLI apps for using specific displays and sensors, including the popular Analog Devices DS18B20 1-Wire digital thermometer. Many of these are written in C — as is the core client-side middleware — so can be compiled and run on macOS or Linux.
For some variety, and given my macOS orientation, I’ve also included CLI and GUI apps written in Swift and which leverage to the C middleware. There are cross-platform Python examples too.
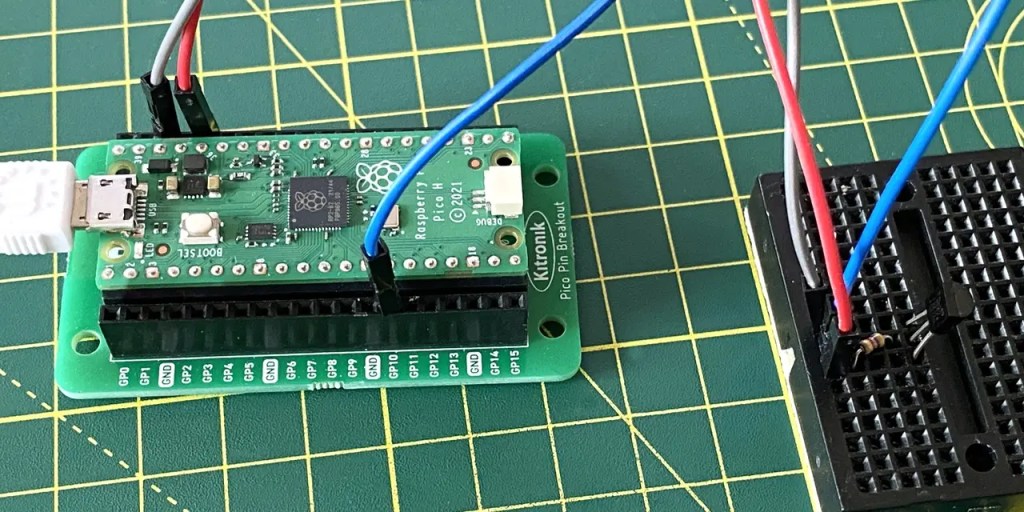
The picture above shows the 1-Wire support in action. The Depot firmware’s default 1-Wire pin is GPIO 10. It’s connected to the DS18B20’s data pin (centre wire), which is pulled high to 3V3 (red) via a 4.7KΩ resistor. The white wire is GND. The client app looks like this:
Building the client apps under macOS is just a matter of opening either or both of the two bundled Xcode projects and selecting Product > Archive from the menu. The apps that can also be built on Linux (tested on Ubuntu and Raspberry Pi OS): hop into the linux/, use cmake to compile the three client apps and then copy the binaries to a location of your choice.
cd linux
cmake -S . -B build
cmake --build build
sudo cp build/cli2c /usr/local/bin/cli2c
Check out my earlier post for details of how the CLI apps are controlled.
You’ll find the Depot apps and adaptor firmware in a new GitHub-hosted repo, here, along with installation guidance. The adaptor firmware is documented on my website.
