I was indirectly introduced recently to the Pomera DM250, a Japanese ‘mobile typewriter’. I quite liked the look of it and, as a writer, its utility. It’s now being made available to a global audience officially rather than via eBay importers.
The Pomera DM250 ‘mobile typewriter’
So the question is, can this NC100 survive Pomera’s arrival?
An interesting comment on my previous post suggests using udev rules to give connected USB-to-serial adaptors their own, unique names. It works by setting udev rules to apply a symbolic link to specific devices when they are connected.
The approach, outlined in this blog post, works at the command line. This got me thinking: can I do the same in code?
Recent work connecting old mobile devices — the Psion Series 3a and the Amstrad NC100 — to my Mac caused me to run into an issue with the script I use to determine the Unix device path of the USB-to-serial adaptor I use to talk to these gadgets. Long story short: I ended up converting a Z Shell function into a Swift CLI tool — and adding Linux support into the bargain.
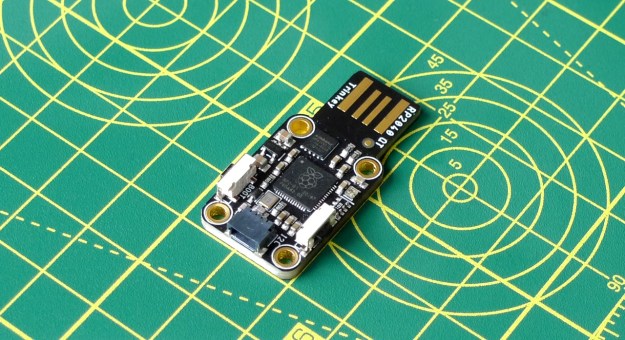
Adafruit’s RP2040 board connects to the host via an integrated USB-to-serial adaptor
In the early 1990s, I got to play with a new Amstrad device: the NC100 “notepad computer”. At the time, Amstrad was the name in British computer manufacturing. Notably it had shifted more than a million of its PCW series of word processors and while at this point it was pushing its line of IBM-compatible PCs, it hadn’t forgotten the success it had had with word processing kit.
Amstrad’s NC100: portable productivity
Enter the NC100, a mobile machine sporting a full size keyboard and a 480×60-pixel LCD used to render 80×8 characters. Pitched as a personal productivity tool, it shipped with on-board diary, calculator, address book, world time and spreadsheet applications as well as word processing software. Heck, it even included BBC Basic, in case you wanted to write your own programs on your daily commute.
I never had any great expectations for getting the 3a online. To summarise the problem: the 3a shipped without integrated Internet support. And while it later received it, via the PsiMail email package, Internet access was predicated on a dial-up connection using a modem and an analogue phone line. It is possible to bridge this ancient approach to the modern world of always on broadband and WiFi, but yes, it’s a bit of PIA. Anyway, this is what you do.
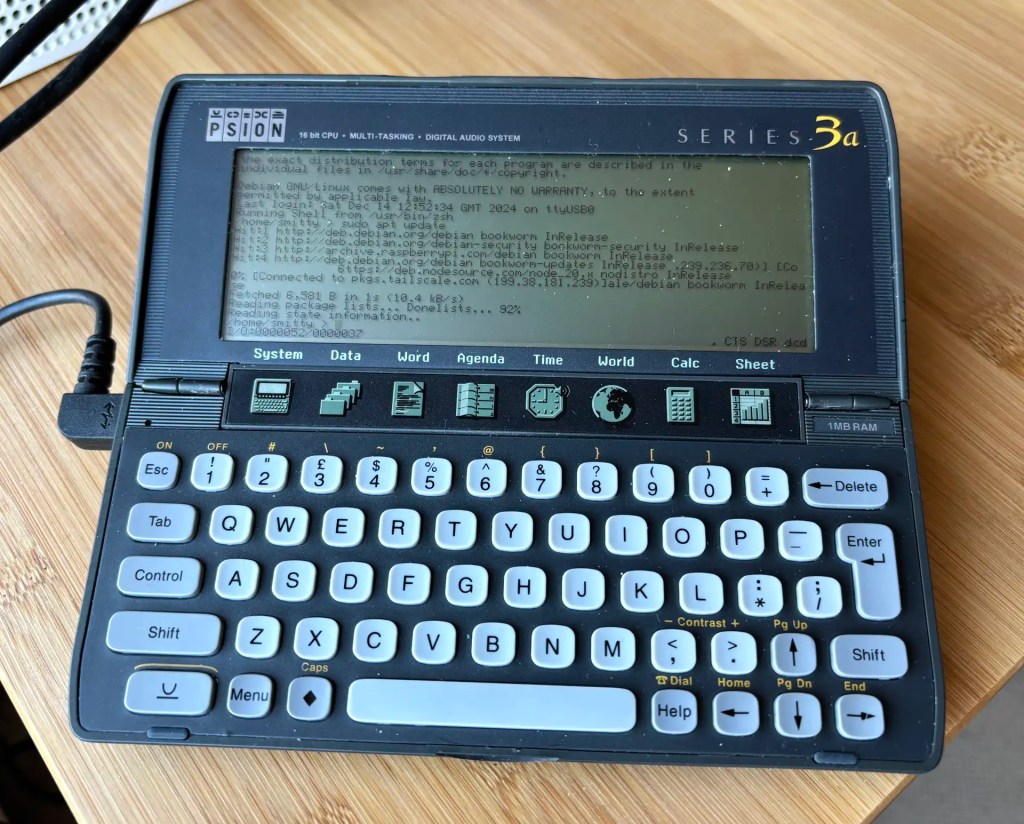
Recap I have acquired a UK-made Psion Series 3a palmtop. I’ve connected it to my Mac. My next goal is to connect the 3a to the Internet for email. But first… yes, I got distracted: having connected the 3a to a Mac, what about a Raspberry Pi? Could I do more with it than transfer files?
Darn right, I can. I can use it to control my headless server.
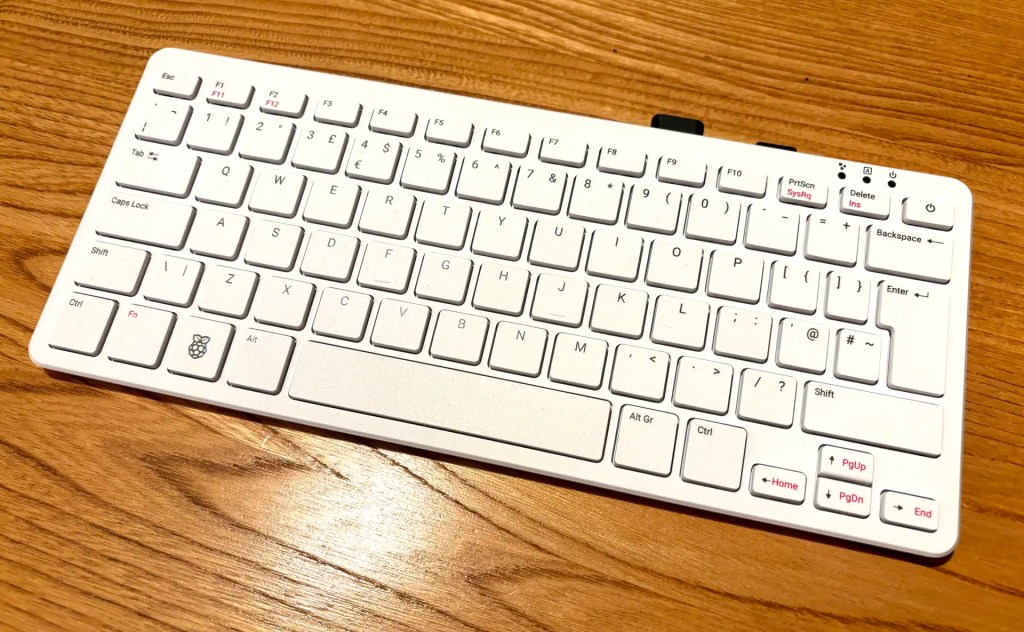
OK, I had to buy mine first, so I’m only getting to play with the new Raspberry Pi 500 desktop after numerous folk have gone to town over its lack of interior SSD connectivity. My Pi 5 has an SSD, but it’s a server. My desktop Pi was until now a Pi 400 (it saves a lot of desktop space). I use a 64GB Samsung Fit USB 3.1 for storage and it suits me very well. Using literally the same drive — literally move it from one machine to the other — the 500 is a clear improvement on its predecessor.
The Pi 500 on my kitchen table: looks like a 400, goes a LOT faster
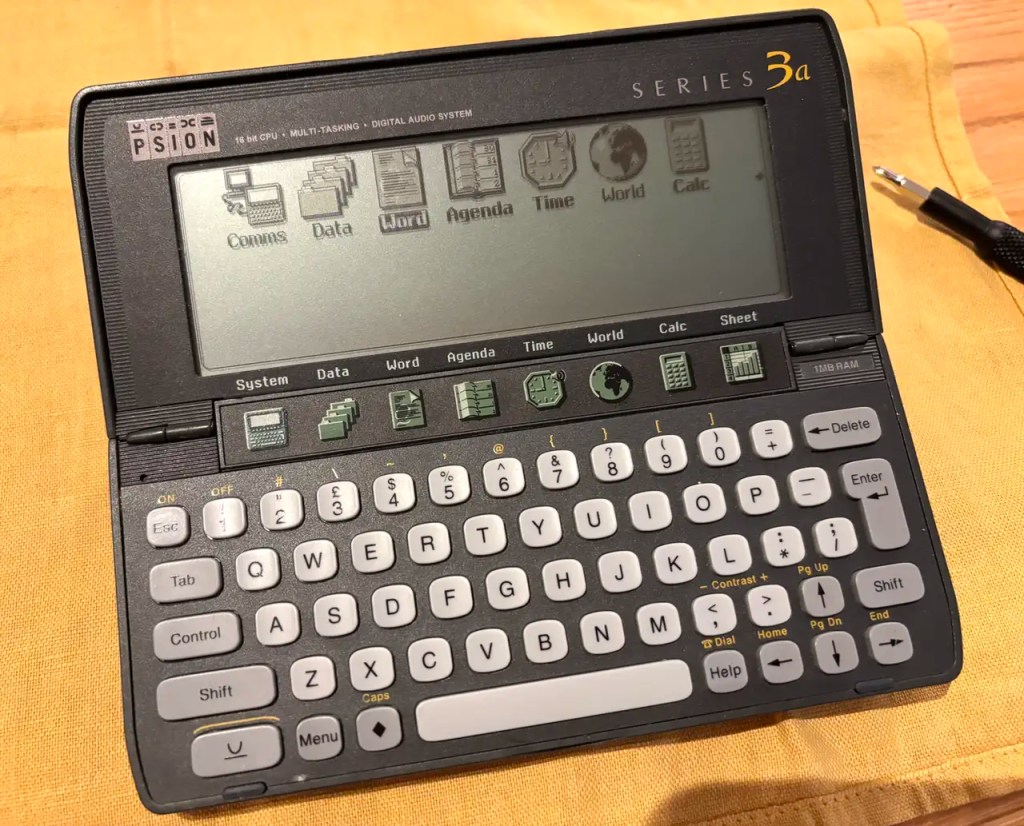
I have a soft spot for the technology of my younger days. In the mid-1990s, for example, I was in my late twenties and one of the machines I used for a time — all my MacWorld Boston 1994 coverage was written on one — was the Psion Series 3a. Pitched as a portable personal organiser, it was a palmtop PC running a 16-bit OS, SIBO aka EPOC 16, on an x86 CPU.
Palm computing: the Psion Series 3a
Running, I might add off a couple of AA batteries (with a coin cell to maintain RAM disk contents when the main pair were replaced) that could last for at least a month. No backlight on the monochrome LCD, though, which makes the device’s use in dim lighting tricky. Strong, over-the-shoulder lighting is essential.
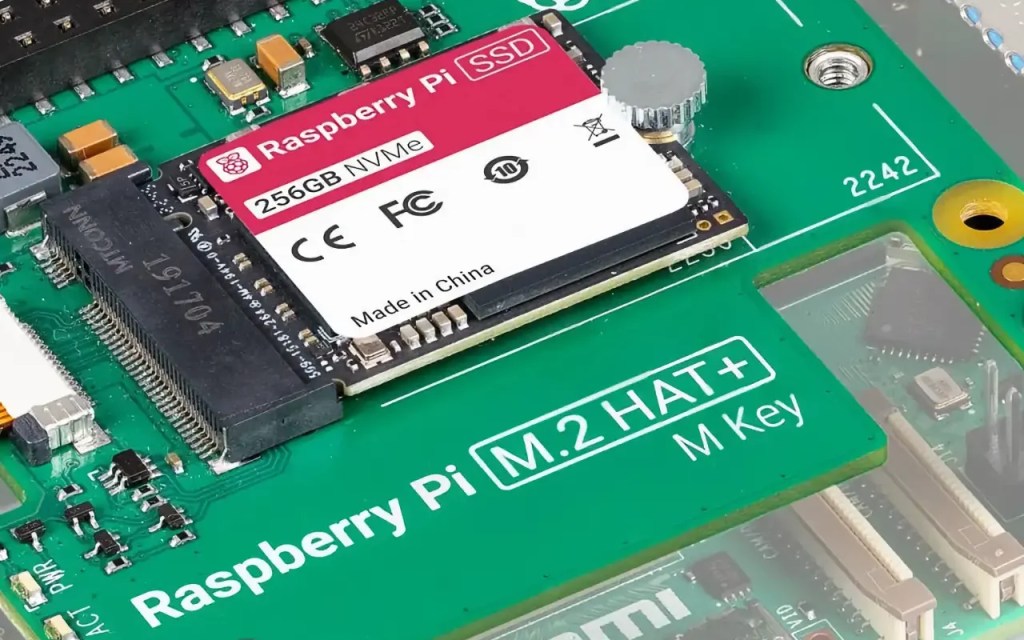
I decided to upgrade my Raspberry Pi 4 homelab server to the Raspberry Pi 5. I took the opportunity to upgrade the storage from a 64GB USB drive to Raspberry PI’s M.2 PCIe Hat and a 256GB SSD. This begged a question: how to replicate the three partitions on the USB drive — boot, root and home — on the SSD, especially with larger partition sizes? Here’s what I did.
I chose Swedish company KKSB’s tall case for my Raspberry Pi 5-based homelab for two reasons. First, I wanted something large enough to hold the Pi itself and the Raspberry Pi M.2 Hat+ and SSD. Second, I wanted something the look like a server — albeit a small one. I’m glad I picked this one.
KKSB Raspberry Pi 5 Case – Space for HATs, Add-on Boards, Cooler, and NVMe HATs