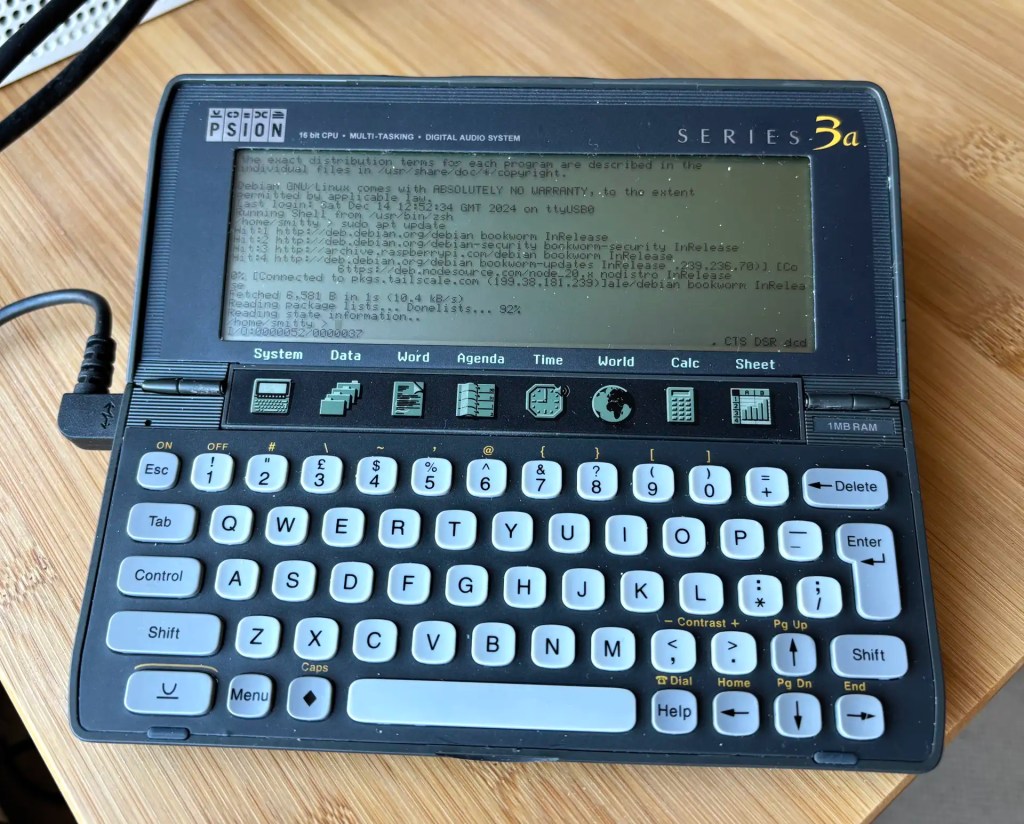
Recap I have acquired a UK-made Psion Series 3a palmtop. I’ve connected it to my Mac. My next goal is to connect the 3a to the Internet for email. But first… yes, I got distracted: having connected the 3a to a Mac, what about a Raspberry Pi? Could I do more with it than transfer files?
Darn right, I can. I can use it to control my headless server.
OK, I had to buy mine first, so I’m only getting to play with the new Raspberry Pi 500 desktop after numerous folk have gone to town over its lack of interior SSD connectivity. My Pi 5 has an SSD, but it’s a server. My desktop Pi was until now a Pi 400 (it saves a lot of desktop space). I use a 64GB Samsung Fit USB 3.1 for storage and it suits me very well. Using literally the same drive — literally move it from one machine to the other — the 500 is a clear improvement on its predecessor.
The Pi 500 on my kitchen table: looks like a 400, goes a LOT faster
I have a soft spot for the technology of my younger days. In the mid-1990s, for example, I was in my late twenties and one of the machines I used for a time — all my MacWorld Boston 1994 coverage was written on one — was the Psion Series 3a. Pitched as a portable personal organiser, it was a palmtop PC running a 16-bit OS, SIBO aka EPOC 16, on an x86 CPU.
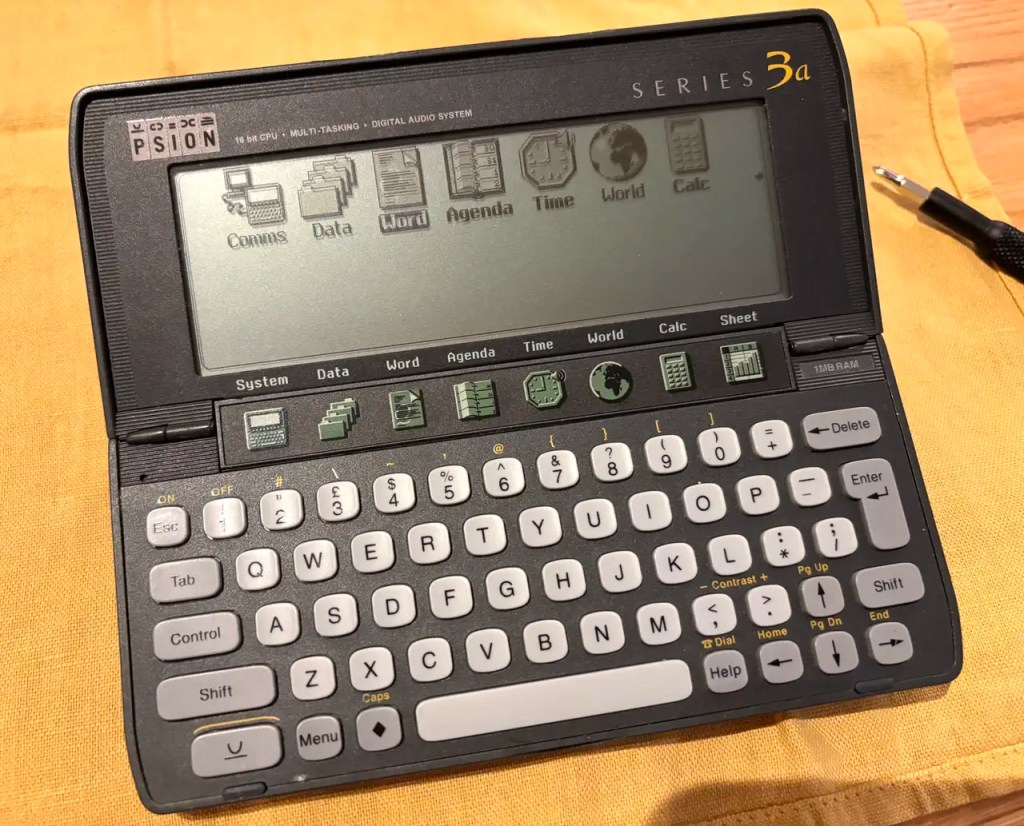
Palm computing: the Psion Series 3a
Running, I might add off a couple of AA batteries (with a coin cell to maintain RAM disk contents when the main pair were replaced) that could last for at least a month. No backlight on the monochrome LCD, though, which makes the device’s use in dim lighting tricky. Strong, over-the-shoulder lighting is essential.
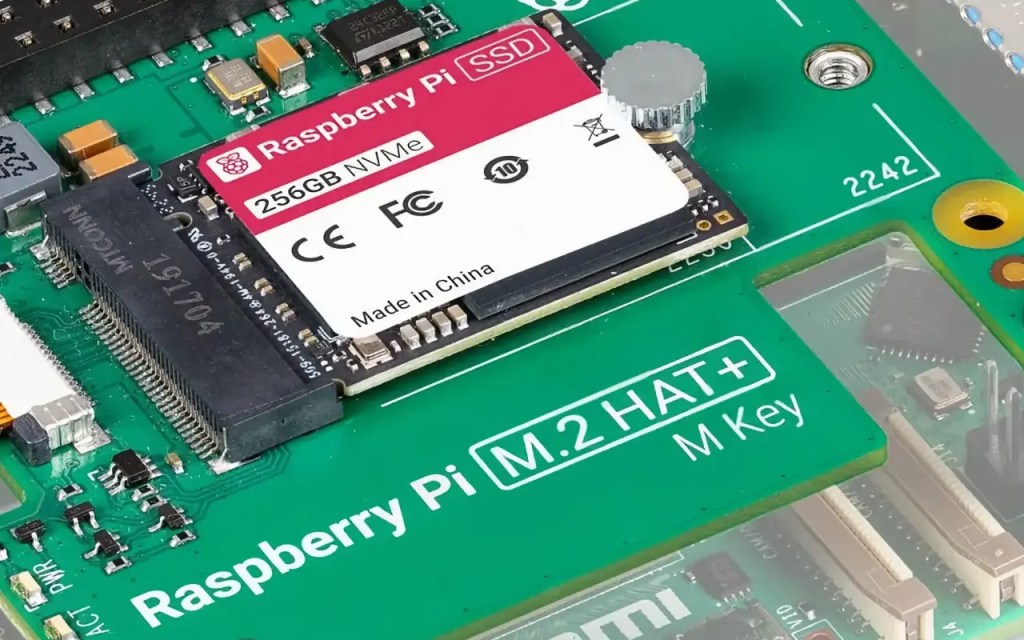
I decided to upgrade my Raspberry Pi 4 homelab server to the Raspberry Pi 5. I took the opportunity to upgrade the storage from a 64GB USB drive to Raspberry PI’s M.2 PCIe Hat and a 256GB SSD. This begged a question: how to replicate the three partitions on the USB drive — boot, root and home — on the SSD, especially with larger partition sizes? Here’s what I did.
I chose Swedish company KKSB’s tall case for my Raspberry Pi 5-based homelab for two reasons. First, I wanted something large enough to hold the Pi itself and the Raspberry Pi M.2 Hat+ and SSD. Second, I wanted something the look like a server — albeit a small one. I’m glad I picked this one.
KKSB Raspberry Pi 5 Case – Space for HATs, Add-on Boards, Cooler, and NVMe HATs
My open source images-to-PDF utility, pdfmaker, makes use of Apple’s PDFKit. While this partnership works as it should, just one aspect bothered me: PDFKit warnings and errors don’t bubble up to the calling code, but are piped via STDERR. The upshot: anyone running pdfmaker may see messages that it hasn’t issued. pdfmaker is a CLI tool, but I can’t just redirect the output to /dev/null — you’d lose everything, not just PDFKit’s grumbles. Instead I had to figure out how to sink PDFKit’s output even though it wasn’t coming via pdfmaker. Here’s how I did the pipework.
I managed to grab one of the first batch of these early — paid for with good money; not a ‘select few’ freebie — rather than the more obvious Raspberry Pi Pico 2. I’m pleased to say my choice was justified. This is a very good developer-centric RP2350-based board.
I have cd "${PROJECT_DIR}" ; agvtool bump set as a script in a number of my macOS projects’ Xcode schemas’ Build phases. The second of the two commands auto-increments the project build number on completion of the build. It continues to do so, but with Xcode 15.3* there’s a side-effect: it deletes the project’s Swift packages.
I’d like to acknowledge the following readers of this blog — or users of my software — who’ve expressed their appreciation of my work by tipping me via PayPal (see the column to the right).
Richard H
Matthew S
James H T
Thanks very much, folks — your recognition is much appreciated.
I have been working with Go professionally, building a cross-platform CLI tool. I’m rather enjoying the language, so I wondered if I could use it to program the Raspberry Pi RP2040 too. A little Googling revealed TinyGo, an implementation of the language for microcontrollers.