
Recap I have acquired a UK-made Psion Series 3a palmtop. I’ve connected it to my Mac. I’ve connected it to my headless Pi server over serial. My next goal: connect the 3a to the Internet.

I never had any great expectations for getting the 3a online. To summarise the problem: the 3a shipped without integrated Internet support. And while it later received it, via the PsiMail email package, Internet access was predicated on a dial-up connection using a modem and an analogue phone line. It is possible to bridge this ancient approach to the modern world of always on broadband and WiFi, but yes, it’s a bit of PIA. Anyway, this is what you do.
First download PsiMail from Steve Lichfield’s Psion archive. Unzip it and move the PSIMAIL folder into your Psion folder. I’m assuming this is taking place on a Mac, based on the folder organisation described in an earlier post, but all this should work on Linux and Windows too.
The next bit is fun. It’s emulation time again. You’ll need a copy of Windows 3.11 from the Internet Archive. This comes as a .ISO image: double-click on it to open it up, and copy the W311 folder into your Psion folder. I’ll assume you have DOSBox-Staging installed. Edit the emulator’s main config file, ~/Library/Preferences/DOSBox/dosbox-staging.conf and add this line at the end, after your mount c ~/Psion.
mount d ~/Psion/W311
Note This change is only temporary: you can revert the config file back when you’ve finished using Windows 3.11.
Save the file and run DOSBox-Staging. You’ll arrive at Z:\ so switch to C:\ and enter D:\setup at the prompt. Install Windows using the Express option. It’s actually quite quick. Just enter any number for the Product Number when asked. You might have to select a different COM port number in the NE2000 window. Reboot when asked.
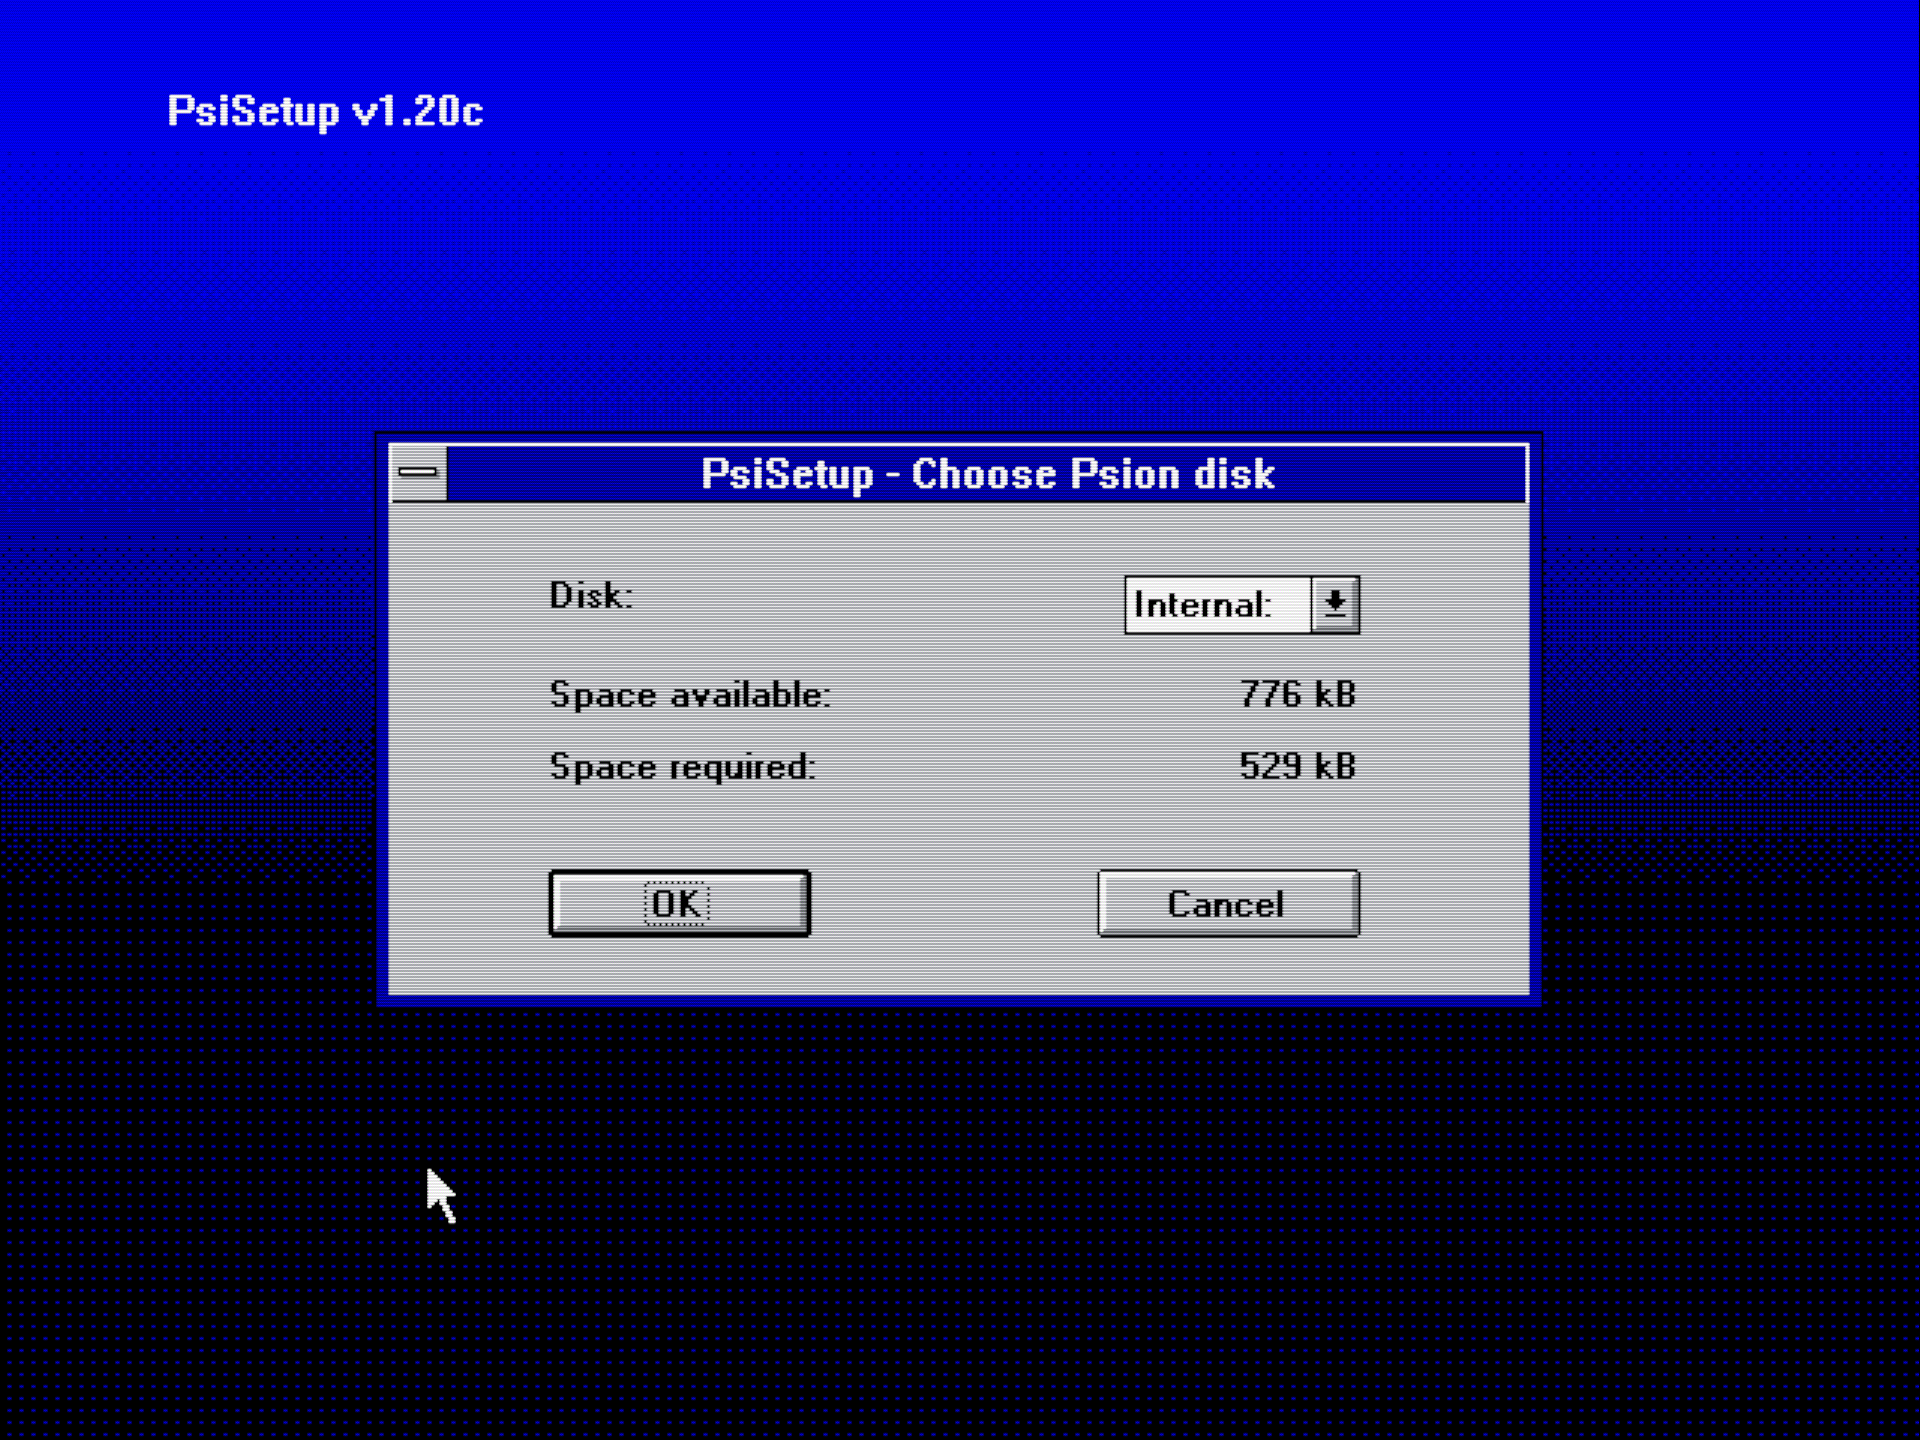
At the Z:\ prompt enter c:\WINDOWS\WIN. Ignore any Windows networking setup errors and, at the desktop, open File Manager and navigate to the PSIMAIL folder and double-click on psisetup.exe. This is what you should see:

Connect the 3a via the Psion 3 Link RS232 adaptor and an RS232-to-USB adaptor to your machine, and enable Psion Link (keys Psion-L).
Back in Windows, in PsiSetup, select int512.ctl from the list and click OK. The installer will attempt to copy files to the Psion. If the installer can’t connect to the 3a, check that the serial port information in dosbox-staging.conf is correct, especially that the PL303 device name is correct (it may have changed).

Next you’ll be asked where to install the files on the 3a. I have a 1MB SSD in the A drive, so I chose that, or you can place it in the RAM drive, Internal, or the B drive if you have an SSD there too.
If installation fails on copying a file (see pic below), there’s a workaround: find the int512.ctl file in the PSIMAIL folder on your Mac. It’s just a text file containing a list of files. Remove the offending file from the list, but note its target location. Remove from the list the names of any files that have already been installed (they get installed in the same order as they‘’re listed in the .ctl file) and the file that failed to copy. Re-run the installer. After installation, quit Windows, run MCLink and copy over the offending file manually.

At this point you can quit Windows, quit DOSBox-Staging and, unless you want to come back later for some GUI nostalgia, delete the WINDOWS and WIN311 folders.
Now move the 3a’s serial link to a handy Raspberry Pi and boot the Pi up. I did this on my Pi 500, but as a proxy for a standalone unit in due course — one I can carry around and use headlessly as a kind of dongle.
On the Pi, install the Point-to-Point Protocol (PPP) Daemon with
sudo apt update && sudo apt install -y pppd
Run:
sudo pppd /dev/ttyUSB0 9600 10.0.0.1:10.0.0.2 passive local \
  noauth updetach persist crtscts lock silent
Back on the 3a, install the Internet Group: Psion–I then select Int512.grp from whatever drive you copied PsiMail to — this will put Setup, Mail and Web on the 3a desktop. Open the Setup app.

Don’t use the Wizard: it’s quicker to punch the settings in directly. I’m indebted to this 2016 site for a steer on some of the settings. Basically, you want:
Provider > Service Provider select Other
Communications > Modem Settings > General > Initialization String set to AT
Communications > Modem Settings > General > Hangup Time set to 10
Communications > Port Settings > Speed set to 9600
Communications > Port Settings > Handshaking:
Xon/Xoff set to Off
Rts/Cts set to On
Dsr/Dtr set to Off
Dcd set to Off
Communications > Port Settings > Port choose TTY:A
Setup > Provider Settings choose Other
Setup > Server Settings > Protocol select PPP
Setup > Server Settings > DNS enter 8.8.8.8
Setup > Server Settings > Account Settings > IP address type choose Static
Setup > Server Settings > Account Settings > IP address enter 10.0.0.2
For Setup > Server Settings > Account Settings >Connection Script, delete all the entries except Retry script (set this to 99) and Open network connection.
Now go to Setup > Connect and hit Enter.
It usually takes one or two goes but when there’s a connection pppd exits on the Pi and reports the network’s two IP addresses: 10.0.0.1 (Pi) and 10.0.0.2 (Psion). You’ll see an email setup warnig on the 3a, but don’t worry about it now.
Now you need to implement IP forwarding on the Pi. This requires four commands:
sudo sh -c "echo 1 > /proc/sys/net/ipv4/ip_forward"
sudo iptables -A FORWARD -i ppp0 -o wlan0 -j ACCEPT
sudo iptables -A FORWARD -o ppp0 -i wlan0 -m state --state \
  ESTABLISHED,RELATED -j ACCEPT
sudo iptables -t nat -a POSTROUTING -o wlan0 -j MASQUERADE
I am not an iptables expert but that seems to do the trick: I can ping my home server from the Psion. Ping? Yes, the PsiMail package contains a Tools application (choose tools.ctl when installing via PsiSetup in Windows) which provides ping, traceroute and DNS lookup, and even supports the finger protocol.

Use it to look up (say) Google’s IP address, and to ping the Google domain:


Now for the real Internet…. Well, up to a point, Lord Copper. The 3a supports HTTP/1.0, which isn’t exactly popular these days — HTTP/1.1 is usually expected as an absolute minimum, and certain services, notably Cloudflare, will kill HTTP/1.0 requests. The Psion’s Web app has no JavaScript either, or CSS, or any of the other Web enhancements introduced since the mid-1990s — most notably HTTPS.
For example, here’s my site, smittytone.net, on the Psion, served from my local site preview server:

It’s missing the scripting, the style sheets, support for UTF-8 characters, and the SVG logo.
And it was dead slow to load. Web pages are considerable more bloated than they were back then, and pulling it all down at 9600 bits per second is not a task for the chronically impatient.
For external sites, the problem was worse, even sites otherwise unchanged since the late 1990s.


Could this be mitigated by some kind of proxy able to grab a request from the Psion, get the page back (whether via HTTP or HTTPS), simplify it by removing the JavaScript, CSS, etc., and then hand it back to the 3a’s Web app?
Googling found a number of possible solutions, all aimed more at supporting old desktop browsers running on retro kit, rather than obscure platform-specific browsers like the one on the 3a. I settled on an updated version of MacProxy. It’s designed to act as an actual HTTP proxy, but the 3a browser lacks proxy settings. So I hacked it to take the target URL as a path variable just for ease of testing.
It kind of works. Sites blocked before — such as the retro-oriented (but sadly no longer updated) http://retro.hackaday.com — now appeared on the 3a’s screen instead of an error. But it’ll need some work to get on-page links to work correctly. And to stop relaying the requests as HTTP/1.0. Currently, MacProxy, which leverages Flask, requests and urllib3, doesn’t convert the incoming requests to HTTP/1.1. I need to figure out how to change that behaviour. More work than the task warrants? Quite possibly!

And it was still too slow for comfort. I upped the serial link speed to 19200bps, the 3a’s maximum, and it was a better experience — just not by very much!
To do so, tweak the Pi’s pppd settings, the 3a’s Internet settings and run stty -F /dev/ttyUSB0 19200 on the Pi
So I’m not totally sure the 3a will ever be used regularly as an Internet device. For me, as I wrote in an earlier post, the 3a makes a great writing gadget once you get used to the wee, calculator-type keys. It’s certainly much easier to use than a ZX81! And I can get my writing off and onto my Mac for final editing and (in the case of a large chunk of this post) uploaded to my blog.
It also does serial comms reasonably well, so I can tap into my headless server without a net connection. It has its uses.
But as an Internet device? Nah, not without a lot of work!
