smittytone messes with micros

BULLETINS FROM THE TECHNOLOGY FRONT LINE — AND OCCASIONALLY BEHIND IT

Skip to content
  • Home
    • About this Blog…
  • Mac
    • How To (Mac)
    • Programming
  • Raspberry Pi
    • How To (Pi)
    • Hacks
    • Raspberry Pi Knowledgebase
  • Pico
  • Retro

How to remove a Pi’s login message

I access my Pi remotely using SSH. While trying out the zsh shell as an alternative to bash, I wondered if I could get rid of all the bumf that’s displayed as soon as I’ve logged in. I want to see the command line prompt and not much else. A little research led me to the following.

9B34334A-4BEA-4006-A27A-B318756D9111
Logging in using Termius. The second line comes from my .zshrc file

The text you see when you log into a Raspberry Pi remotely is generated by from a combination of static files and scripts.

The first line provides Linux information; it’s the output of the uname command, which in this case is called by the script /etc/update-motd.d/10-uname.

The Debian copyright and warranty text is static. You’ll find it in the file /etc/motd.

Edit each of these files, using sudo, and save them when you’re done. For the script, just comment out the line uname -snrvm — just prefix the line with #. For the static file, just delete the contents, or replace it with a message of your own.

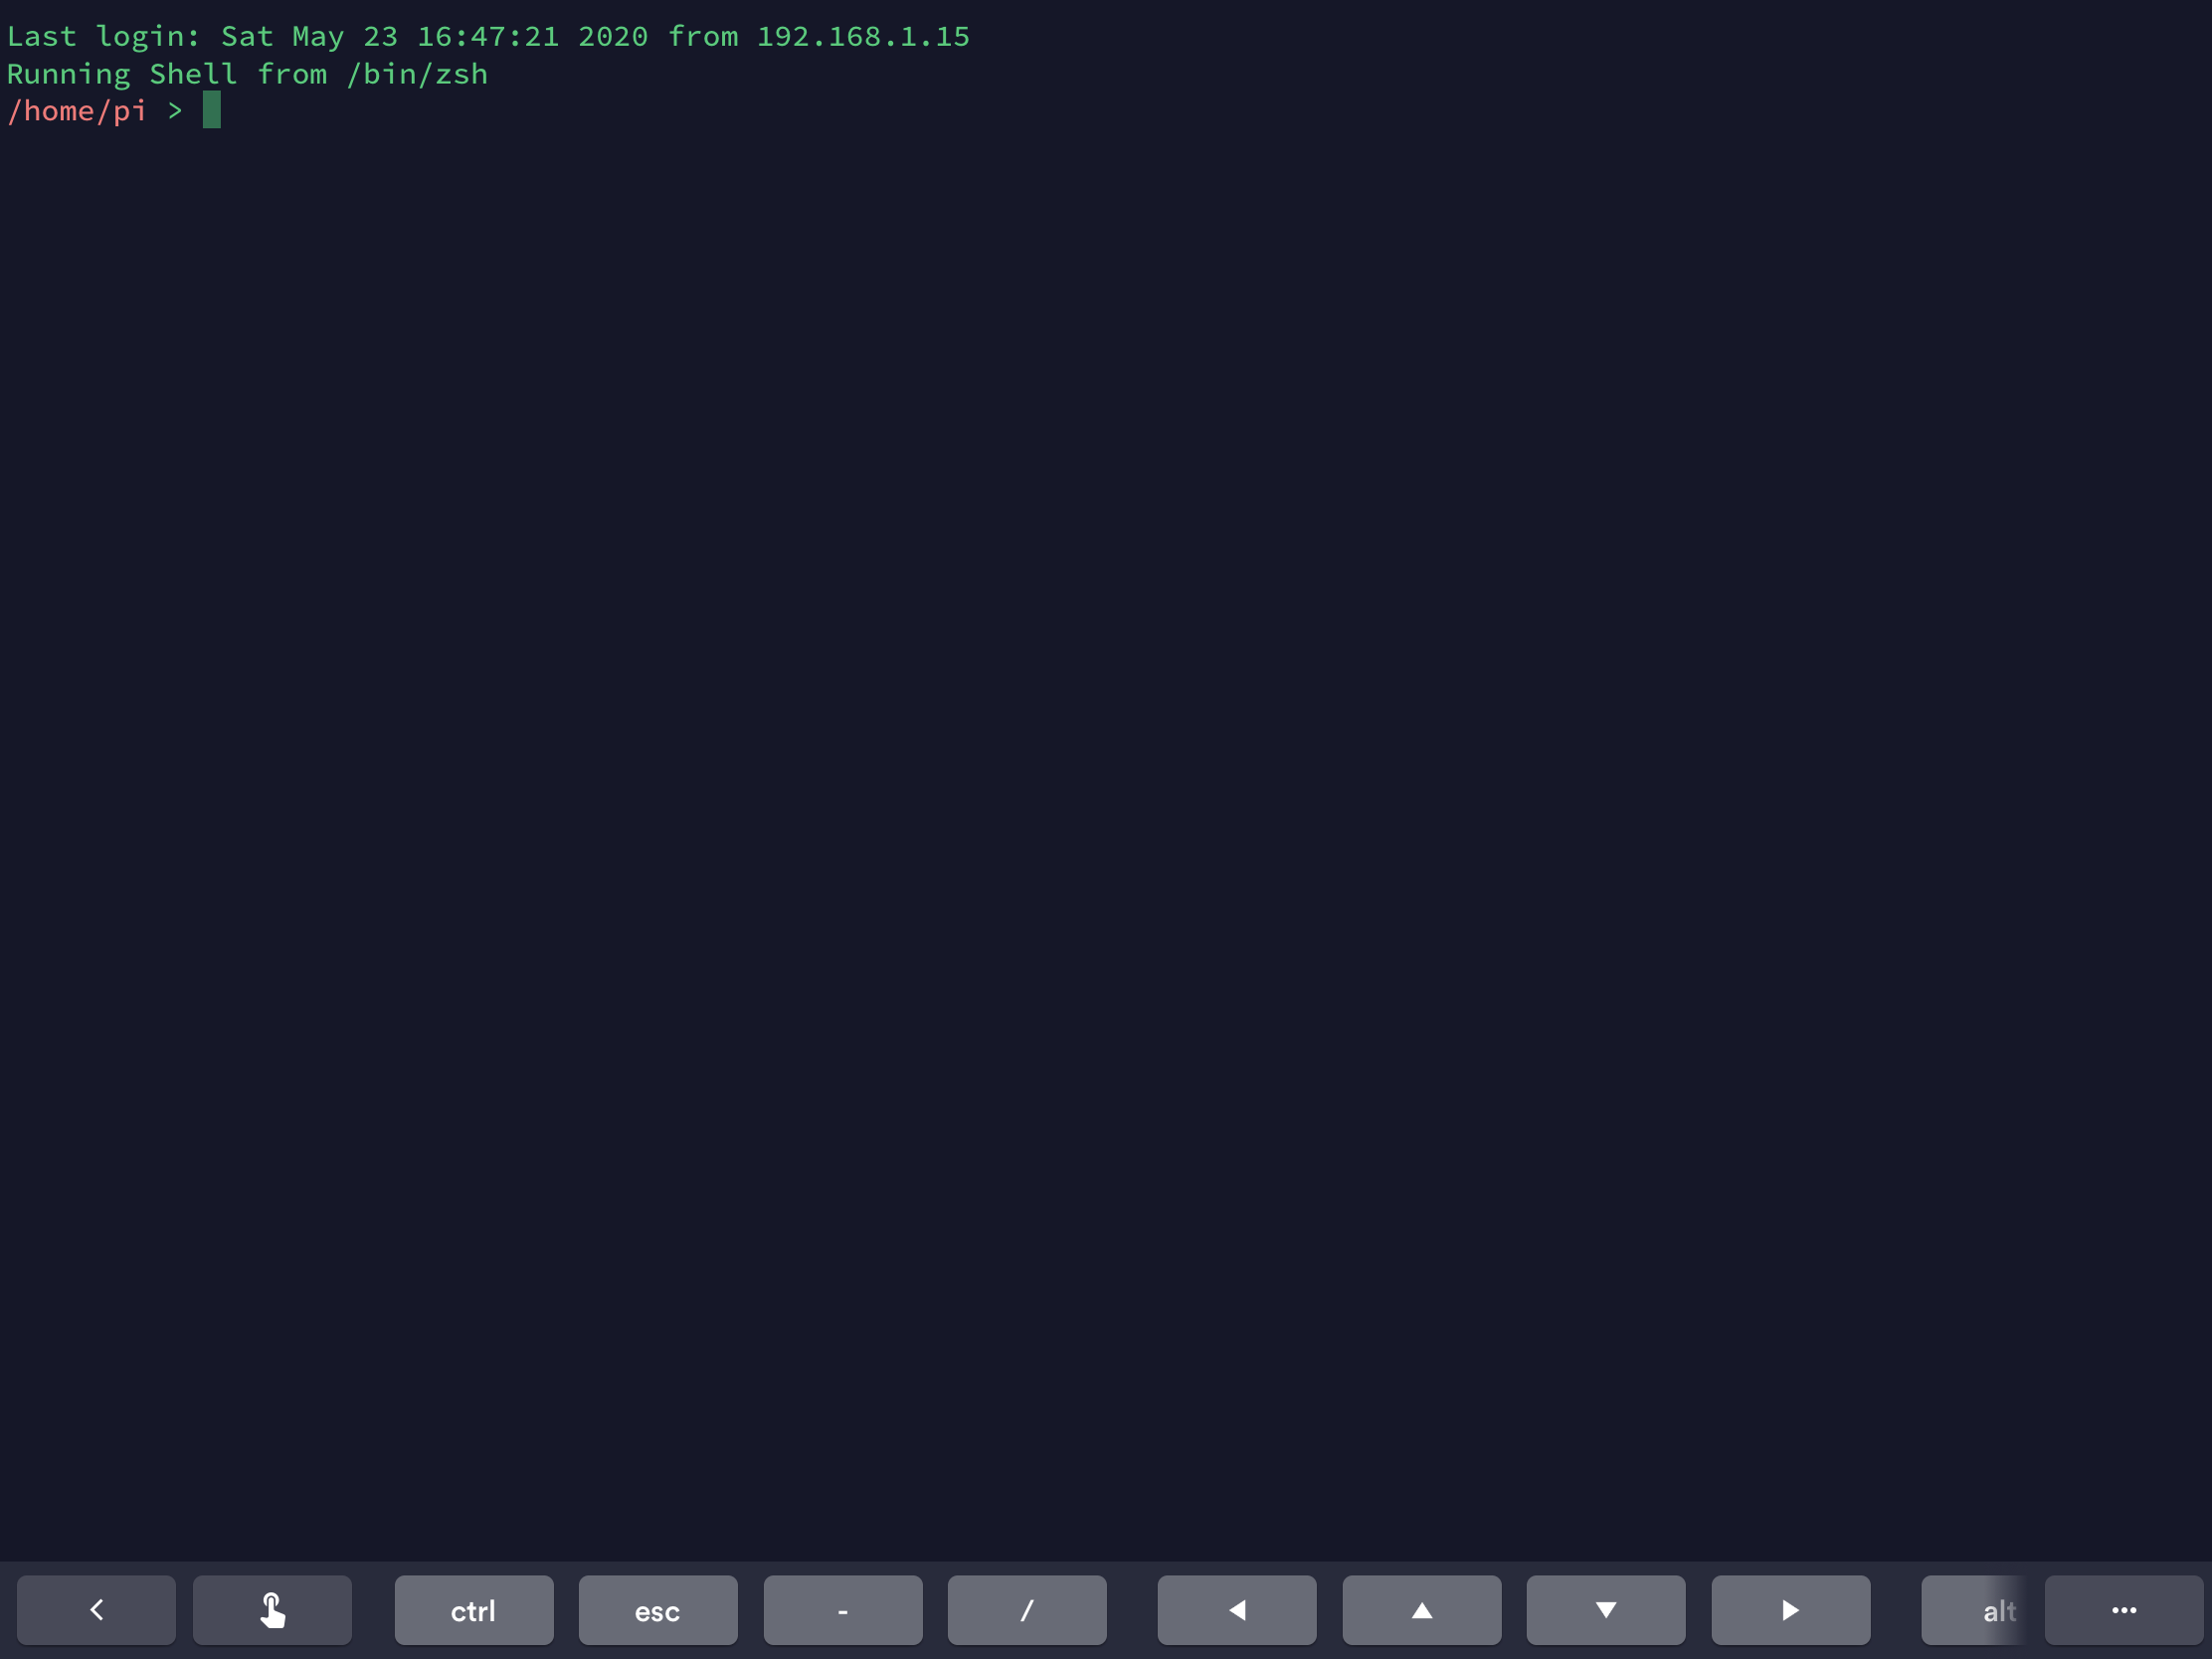
Finally, the Last Login:... line. I decided to keep this, but you can get rid of it by creating the file .hushlogin in your home directory: cd $HOME && touch .hushlogin.

Now log out (exit) and when you log back in, you’ll just go straight to the prompt.

Note This all works in Raspbian Buster; older Pi operating systems might do it differently.

Rate this:

Share this:

  • Click to share on Twitter (Opens in new window)
  • Click to share on Reddit (Opens in new window)
  • Click to share on Tumblr (Opens in new window)
  • Click to share on Pinterest (Opens in new window)
  • Click to share on LinkedIn (Opens in new window)
  • Click to email a link to a friend (Opens in new window)
  • Click to share on Facebook (Opens in new window)
  • Click to share on WhatsApp (Opens in new window)

Like this:

Like Loading...

Related

This entry was posted in How To (Pi), Raspberry Pi and tagged command line, login, Pi, SSH on May 23, 2020 by smittytone.

Post navigation

← Want 50 great fonts for your iPad? Get my new free app Using the Z shell on the Mac and Pi →
Follow smittytone messes with micros on WordPress.com
smittytone’s retro tech t-shirts

Program the Raspberry Pi Pico

Latest Items

  • How to get macOS file previews for non-standard text files December 26, 2022
  • Review: Picoprobe PCB Kit 1.0 👎🏻 November 23, 2022
  • How to use the RP2040’s Flash in CircuitPython apps November 18, 2022
  • How to copy files to a Pico on a Ventura Mac error free November 12, 2022
  • How to talk to I2C sensors, displays from… Linux October 26, 2022
  • Review: Kitronic Pico Pin Breakout 👍🏻 October 21, 2022

Enjoyed using this site? Tip me!

Tip QR Code

My Sites

  • smittytone’s software stack
  • GitHub
  • LinkedIn
  • Merch

Other Items

  • About ‘Smittytone Messes with Micros’
  • Raspberry Pi Knowledgebase

Site Topics

  • apps
  • Hacks
  • How To (Mac)
  • How To (Pi)
  • IoT
  • Mac
  • Mobile
  • Programming
  • Raspberry Pi
  • Retro
  • Reviews
  • Sidelines
  • Vintage Computing
  • Webwork
  • Wireless
Follow smittytone messes with micros on WordPress.com

Website Powered by WordPress.com.
  • Follow Following
    • smittytone messes with micros
    • Join 91 other followers
    • Already have a WordPress.com account? Log in now.
    • smittytone messes with micros
    • Customize
    • Follow Following
    • Sign up
    • Log in
    • Copy shortlink
    • Report this content
    • View post in Reader
    • Manage subscriptions
    • Collapse this bar
 

Loading Comments...
 

    %d bloggers like this: