
This neat trick is implemented on the Raspberry Pi-based Twilio Developer Kit for Broadband IoT, with which I’ve been working a lot of late (as a Twilio staffer). It lets you connect a headless Pi to your main machine via Ethernet just be plugging in a cable. It also maintains the Pi’s own wireless connection to the Internet.
I wanted to figure out how it was done so that I could implement it on my own Pi. Using Ethernet makes SSH-ing into the Pi so much faster than doing over wireless. I did some research and got 99 per cent of it; a colleague — thanks, Randy! — showed me the missing one per cent that made it work.
Here’s how it’s done. The following steps are all performed on the Pi.
- Install udhcpd to serve up IP addresses. Run this command:
sudo apt install udchpd - udhcpd needs a file that’s not created by the install, so run:
touch /var/lib/misc/udhcpd.leases - Now we set the three udhcpd config files. First run:
sudo nano /etc/init.d/udhcpd - Add
$networkto the end of the header line beginning# Required-Start… - Save the file with ctrl-x then y.
- Edit the second udhcpd config file. Run:
sudo nano /etc/default/udhcpd - Comment out the line
DHCPD_ENABLED="no" - At the end of the file, add:
DHCPD_OPTS="-I 192.168.253.100 -S"
This IP address will be the one you use to access the Pi. - Save the file with ctrl-x then y.
- Edit the third udhcpd config file. Run:
sudo nano /etc/udhcpd.conf - This is trickier as it involves making some changes throughout the file. Look for the items listed in the code block below and set them in the
.conffile accordingly, uncommenting as you go. Or you can just replace the whole file with the lines below:start 192.168.253.101 end 192.168.253.111 interface eth0 max_leases 10 option subnet 255.255.255.0 option domain local option lease 864000
- Save the file with ctrl-x then y.
- Edit the dhcpcd config file. Run:
sudo nano /etc/dhcpcd.conf - Look for the commented line
#interface eth0and uncomment it. - Look for the commented line
#static ip_address=192.168.0.10/24. Uncomment it and change the IP address to192.168.253.100. Make sure you don’t delete the/24and that you match the address set in step 8. - Save the file with ctrl-x then y.
- Enter the following command to enable udhcpd at boot:
systemctl enable udhcpd - Restart the Pi:
sudo shutdown -r now
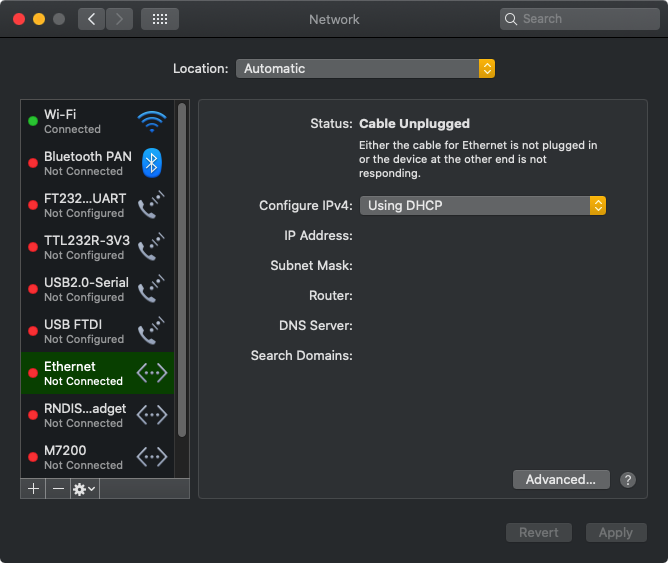
While the Pi is rebooting, connect it to your Mac using a standard Ethernet patch cable. If you open System Preferences > Network, you’ll see the Ethernet port go from Cable Unplugged to Not Connected then to Connected, the latter with an IP address somewhere between 192.168.253.101 and 192.168.253.111, the range you specified in /etc/udhcpd.conf.


SSH to the Pi in the usual way, but this time use the static IP address you specified in /etc/default/udhcpd and /etc/dhcpcd.conf:
ssh pi@192.168.253.100
Of course, if you’re happy with your WiFi speed, either computer’s or the Pi’s Ethernet port isn’t free, or the two machines are too far apart to make a wired connect feasible, then this approach won’t help you, but it is very handy for desk-bound Pis.
Connecting by Ethernet is effectively as quick as logging into the Pi directly. That’s also very much the case with virtual desktop access using VNC.
