
I decided to upgrade my Raspberry Pi 4 homelab server to the Raspberry Pi 5. I took the opportunity to upgrade the storage from a 64GB USB drive to Raspberry PI’s M.2 PCIe Hat and a 256GB SSD. This begged a question: how to replicate the three partitions on the USB drive — boot, root and home — on the SSD, especially with larger partition sizes? Here’s what I did.
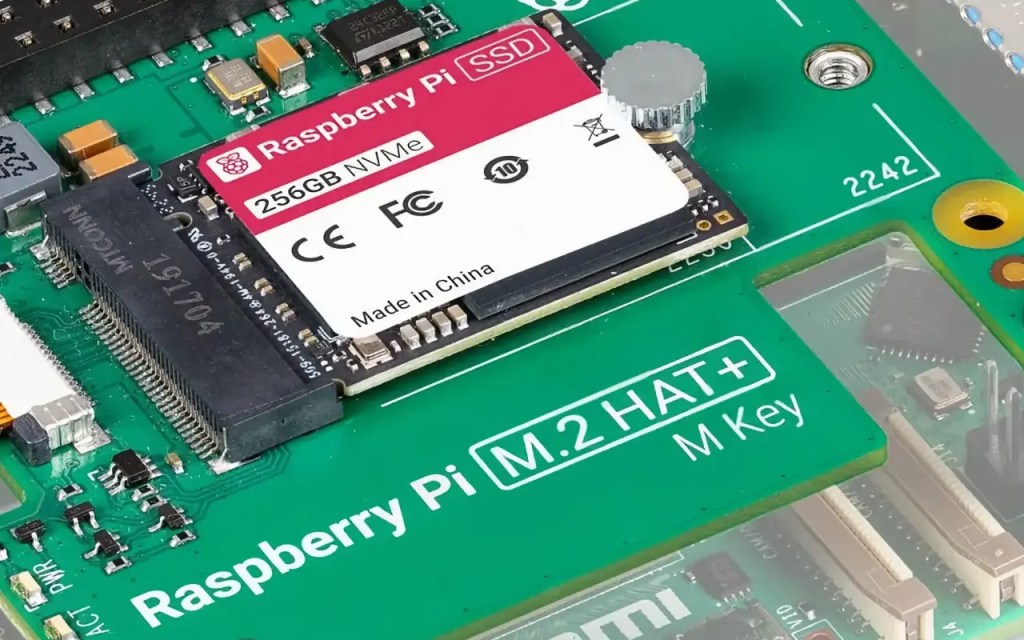
Firstly, fitting the M.2 Hat is incredbily fiddly, especially if you disassemble it again before completing. Aligning the GPIO extender isn’t easy, and fitting the PCIe ribbon cable isn’t either. My advice: don’t rush it, and remove the ribbon cable entirely first. And think about how the finished item is going to fit into your chosen case, if you have one. I didn’t, and so had to re-assemble board and Hat a second time, this time into the case I’d picked.
Raspberry Pi also loses points for its new AC adaptor, which has too short a cable IMHO. I had to use one of these because my the Pi 5 is unhappy with my 70W MacBook Pro power brick. You’d have thought that was sufficient for the 25W the Pi 5 demands, but no: it’s all about the specific volts x amps output variants the PSU can supply, and Raspberry Pi has picked an uncommon one. Anyway, a UGreen USB-C extension cable now provides fills the gap between server and AD adaptor.
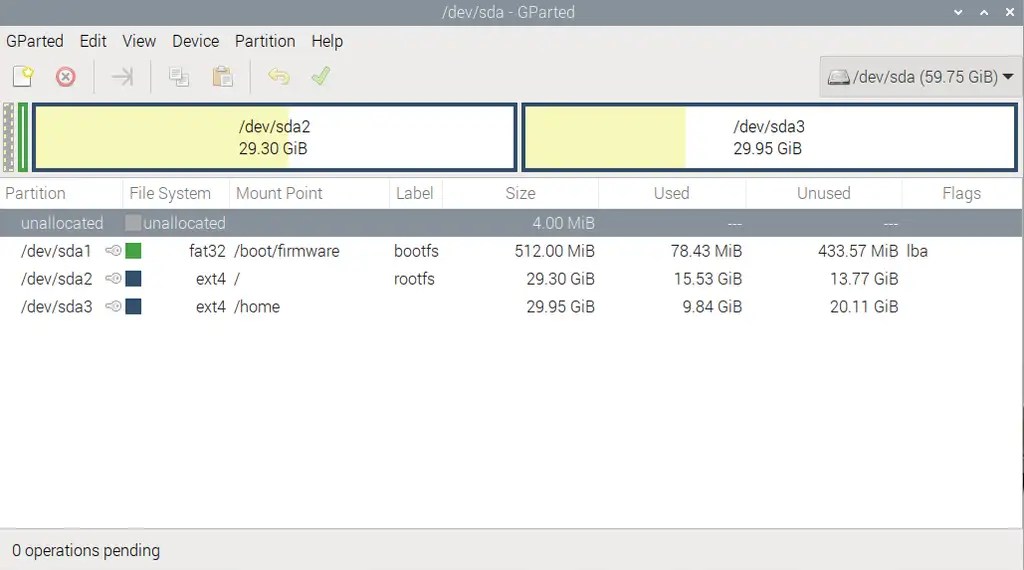
With the raw SSD in place, I rebooted the Pi 5 using the USB drive. I installed the parted partition manager (sudo apt update && sudo apt install parted -y) and used its GUI incarnation, GParted, to create a new (MSDOS) partition table on the bare SSD: select the drive in the pop on right, then go to the Device > Create Partition Table… menu item.
Always check you’re working on the disk you think you’re working on — and that it’s the right one!
I then created my three partitions: 512MB of FAT32 for the boot partition, 32GB of EXT4 for the root directory, and 200GB for the home directory. In each case, go to Partition > New and set the size, format and label in the dialog that appears.
The remainder I left unallocated for now: I thought I might use it for a swap partition or to extend one or more of the other partitions. To apply the partitions, select Edit > Apply All Operations.
The next phase is to mount each partition in turn and copy the contents of the each one’s source directory from the USB drive. I immediately ran into difficulty: the boot partition contains hard links which cp even with with -a switch and running as sudo cannot handle. Well, it had always sounded like too easy a solution. What to do instead?
Research led me to Jeff Geerling’s fork of Bill Wilson‘s rpi-clone, a Bash script for performing exactly the task I want to perform: clone each partition in sequence. Bill stopped maintaining the script before the Pi 5 came out, but Jeff’s version has been updated with NVMe SSD support. So having installed the utility from its GitHub repo, I just ran:
sudo rpi-clone -a nvme0n1
PS. Use lsblk to list the storage media connected to your Pi. This is what I see:
NAME MAJ:MIN RM SIZE RO TYPE MOUNTPOINTS
sda 8:0 1 59.8G 0 disk
├─sda1 8:1 1 512M 0 part /boot/firmware
├─sda2 8:2 1 28G 0 part /
└─sda3 8:3 1 31.3G 0 part /home
nvme0n1 259:0 0 238.5G 0 disk
├─nvme0n1p1 259:4 0 512M 0 part
├─nvme0n1p2 259:5 0 32G 0 part
└─nvme0n1p3 259:6 0 200G 0 part
This gives me nvme0n1 for the SSD’s device name — hence the last argument passed to rpi-clone.
I was anticipating the need to edit the /etc/fstab file on the SSD before rebooting, but no, rpi-clone does that for you, and sorts out all the other config files too. So just sudo shutdown -h now, remove the USB drive, and plug the power back in.
Except… for some reason the 32GB root partition was full! I spotted this because labwc-pi failed and apt wasn’t able to download its status records.
However, because I have the original USB disk, I rebooted using that and cleared the three partitions from the SSD, again using GParted. Just select each partition in turn, right-click on it and click on Delete. When you’ve done that, select Edit > Apply All Operations.
I chose this option because rpi-clone has the ability to generate the required partitions itself, so I thought I’d allow it to try. The second run of the utility, it generated three partitions. The first two matched their original size, and the third (used for /home, remember) was set to fill the remainder of the SSD. The point is, once more it copied the files from the USB drive into each of the respective partitions on the SSD, but this time the root partition was not full and worked entirely as expected.
I rebooted using the USB drive once again, and this time I used GParted to reduce the size of the home partition a little in order to then expand the root partition to 32GB, which is what I wanted to do originally. This was a relatively safe — but not risk free — move, the SSD being essentially unused after its only working boot so the data is still suitable contiguous for safe moving.
I rebooted using the SSD, removed the USB drive for good and — touch wood — I have seen no issues for the past few days.
[HomeLab] /home/smitty > lsblk
NAME        MAJ:MIN RM   SIZE RO TYPE MOUNTPOINTS
nvme0n1     259:0    0 238.5G  0 disk
├─nvme0n1p1 259:1    0   512M  0 part /boot/firmware
├─nvme0n1p2 259:2    0    32G  0 part /
└─nvme0n1p3 259:3    0 200.7G  0 part /home
The real test will come with the next major Raspberry Pi OS release. I maintain a separate home partition in order to keep as much installed data and code there so that completely re-installing Raspberry Pi OS becomes less of a chore. This is often the case when there’s a major new Raspberry Pi OS release: you’re advised to create a new install not update an existing one. I should be able to reinstall the OS into the first two partitions without the need to backup /home and then restore it after reinstallation.
For the same reason, I’m migrating my applications to containers, with image compose files and persistent files kept in the home partition, to make them more portable.
The next phase in this process is to migrate my local installs of Pi-Hole and cloudflared (for DNS over HTTPS) to containers too, but that’s another post!
